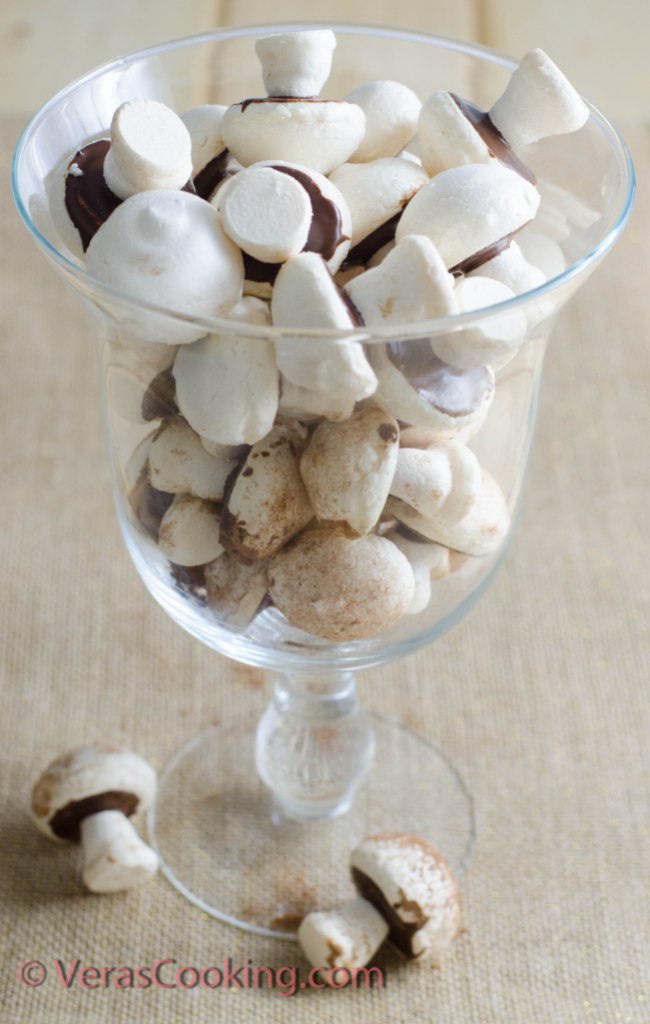
Meringues… delicate and crisp, sweet and delicious. Meringue shaped like mushrooms makes a stunning addition to the cookie tray.
I’ve been wanting to make these meringue cookies for a while now, but couldn’t make time. They’re super easy to make, but the baking time adds up to 2 hours. So make sure that you plan ahead. But its so worth it at the end.
Ingredients:
- 3 large egg whites
- 1/8 teaspoon cream of tartar (I’ve made meringues without it before, but it sure helps to hold meringue’s shape)
- 3/4 cup sugar
- 1/2 teaspoon vanilla extract
- 2 one-ounce squares semisweet chocolate (not pictured)
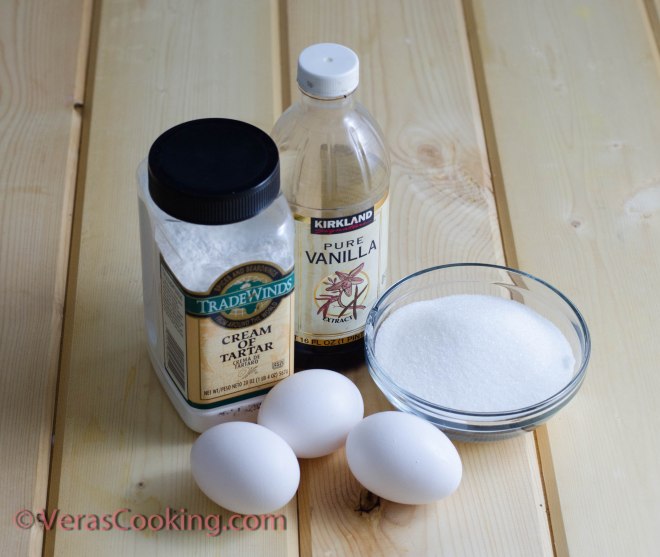
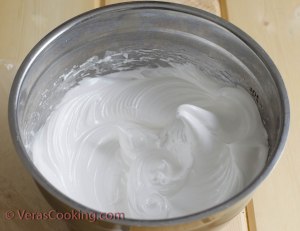
Preheat oven to 200 degrees F. Line large cookie sheet with foil. In small bowl, with mixer at high speed, beat egg whites and cream of tartar until soft peaks form. Sprinkle in sugar 2 tablespoons at a time, beating well after each addition until sugar completely dissolves and whites stand in stiff, glossy peaks. Then, beat in vanilla.

With large writing tube (I used Wilton tip #12), pipe meringue onto foil-lined cookie sheet in 30 mounds, each about 1 + 1/2 inches in diameter, to resemble mushroom caps.
Pipe remaining meringue upright onto cookie sheet in 30 1 + 1/4 inch lengths, to resemble stems.

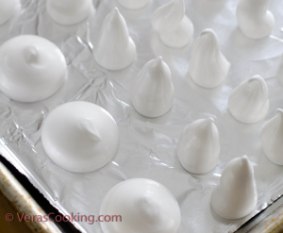
I like to make few more extra “stems” as I observed some of them tend to bend during baking. They’ll still be very delicious, but I like to make sure I’d have enough “stems” for the mushroom “caps”.

Bake 1 hour 45 minutes. Turn oven control off; leave meringues in oven 30 minutes longer. Cool completely when done on cookie sheet on wire rack.
With tip of small knife, cut small hole in center of underside of mushroom cap.


Now let’s put our “mushrooms” together! Place a little melted chocolate in hole that we’ve made in a center of mushroom cap; spread underside of cap with chocolate as well.
Carefully insert pointed end of stem into hole in center of underside of mushroom cap.

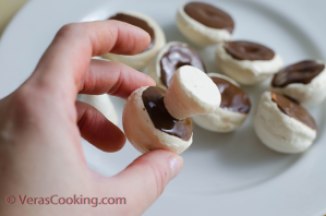
Repeat with remaining caps and stems. Let chocolate dry and set.

Before serving, sprinkle lightly with unsweetened cocoa to make meringue mushrooms look more realistic.
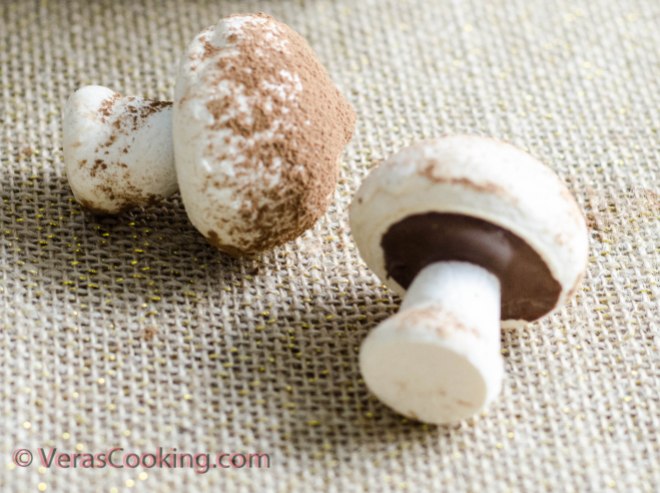
Meringue cookies should be stored in tightly covered container in a dry place.
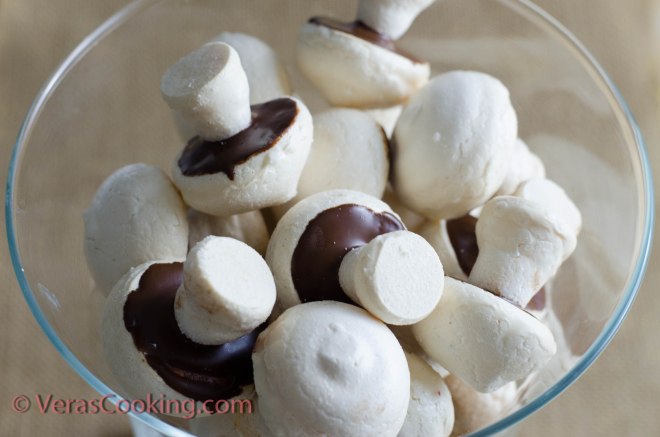
Aren’t they gorgeous?
Enjoy!
Ingredients
- 3 large egg whites
- 1/8 teaspoon cream of tartar (I've made meringues without it before, but it sure helps to hold meringue's shape)
- 3/4 cup sugar
- 1/2 teaspoon vanilla extract
- 2 one-ounce squares semisweet chocolate (not pictured)
Instructions
- Preheat oven to 200 degrees F. Line large cookie sheet with foil.
- In small bowl, with mixer at high speed, beat egg whites and cream of tartar until soft peaks form.
- Sprinkle in sugar 2 tablespoons at a time, beating well after each addition until sugar completely dissolves and whites stand in stiff, glossy peaks.
- Then, beat in vanilla.
- With large writing tube (I used Wilton tip #12), pipe meringue onto foil-lined cookie sheet in 30 mounds, each about 1 + 1/2 inches in diameter, to resemble mushroom caps.
- Pipe remaining meringue upright onto cookie sheet in 30 1 + 1/4 inch lengths, to resemble stems.
- Bake 1 hour 45 minutes. Turn oven control off; leave meringues in oven 30 minutes longer. Cool completely when done on cookie sheet on wire rack.
- With tip of small knife, cut small hole in center of underside of mushroom cap.
- Now let's put our "mushrooms" together! Place a little melted chocolate in hole that we've made in a center of mushroom cap; spread underside of cap with chocolate as well.
- Carefully insert pointed end of stem into hole in center of underside of mushroom cap.
- Repeat with remaining caps and stems. Let chocolate dry and set.
- Before serving, sprinkle lightly with unsweetened cocoa to make meringue mushrooms look more realistic.
Notes
I like to make few more extra "stems" as I observed some of them tend to bend during baking. They'll still be very delicious, but I like to make sure I'd have enough "stems" for the mushroom "caps".
Meringue cookies should be stored in tightly covered container in a dry place.
This recipe was adapted from The Good Housekeeping Cookbook


Vera! Wow!!! What a beautiful dessert! Thanks for sharing!
Thank you so much! I’m so happy you liked it 🙂
This looks so impressive! Can’t wait to try it. 🙂
Thank you Lena. If you make it, I would love to see a picture of your creation on VerasCooking facebook page 😉
These are just too cute and creative! Great job!
Thank you so much Diana.
You are brilliant, Vera! Just Lovely! 🙂
Thank you! The cookies are very lovely, I have to agree 🙂
Hi Vera,
Can I make these a few days before serving them or they’ll become soggy?
Hi Vera,
Can I make these a few days before serving them or they will become too soggy?